
First steps
This page is for the person who sets up Nebulas for their company. When you create the organization you become its owner, and you invite the rest of the team afterwards.
Create your organization
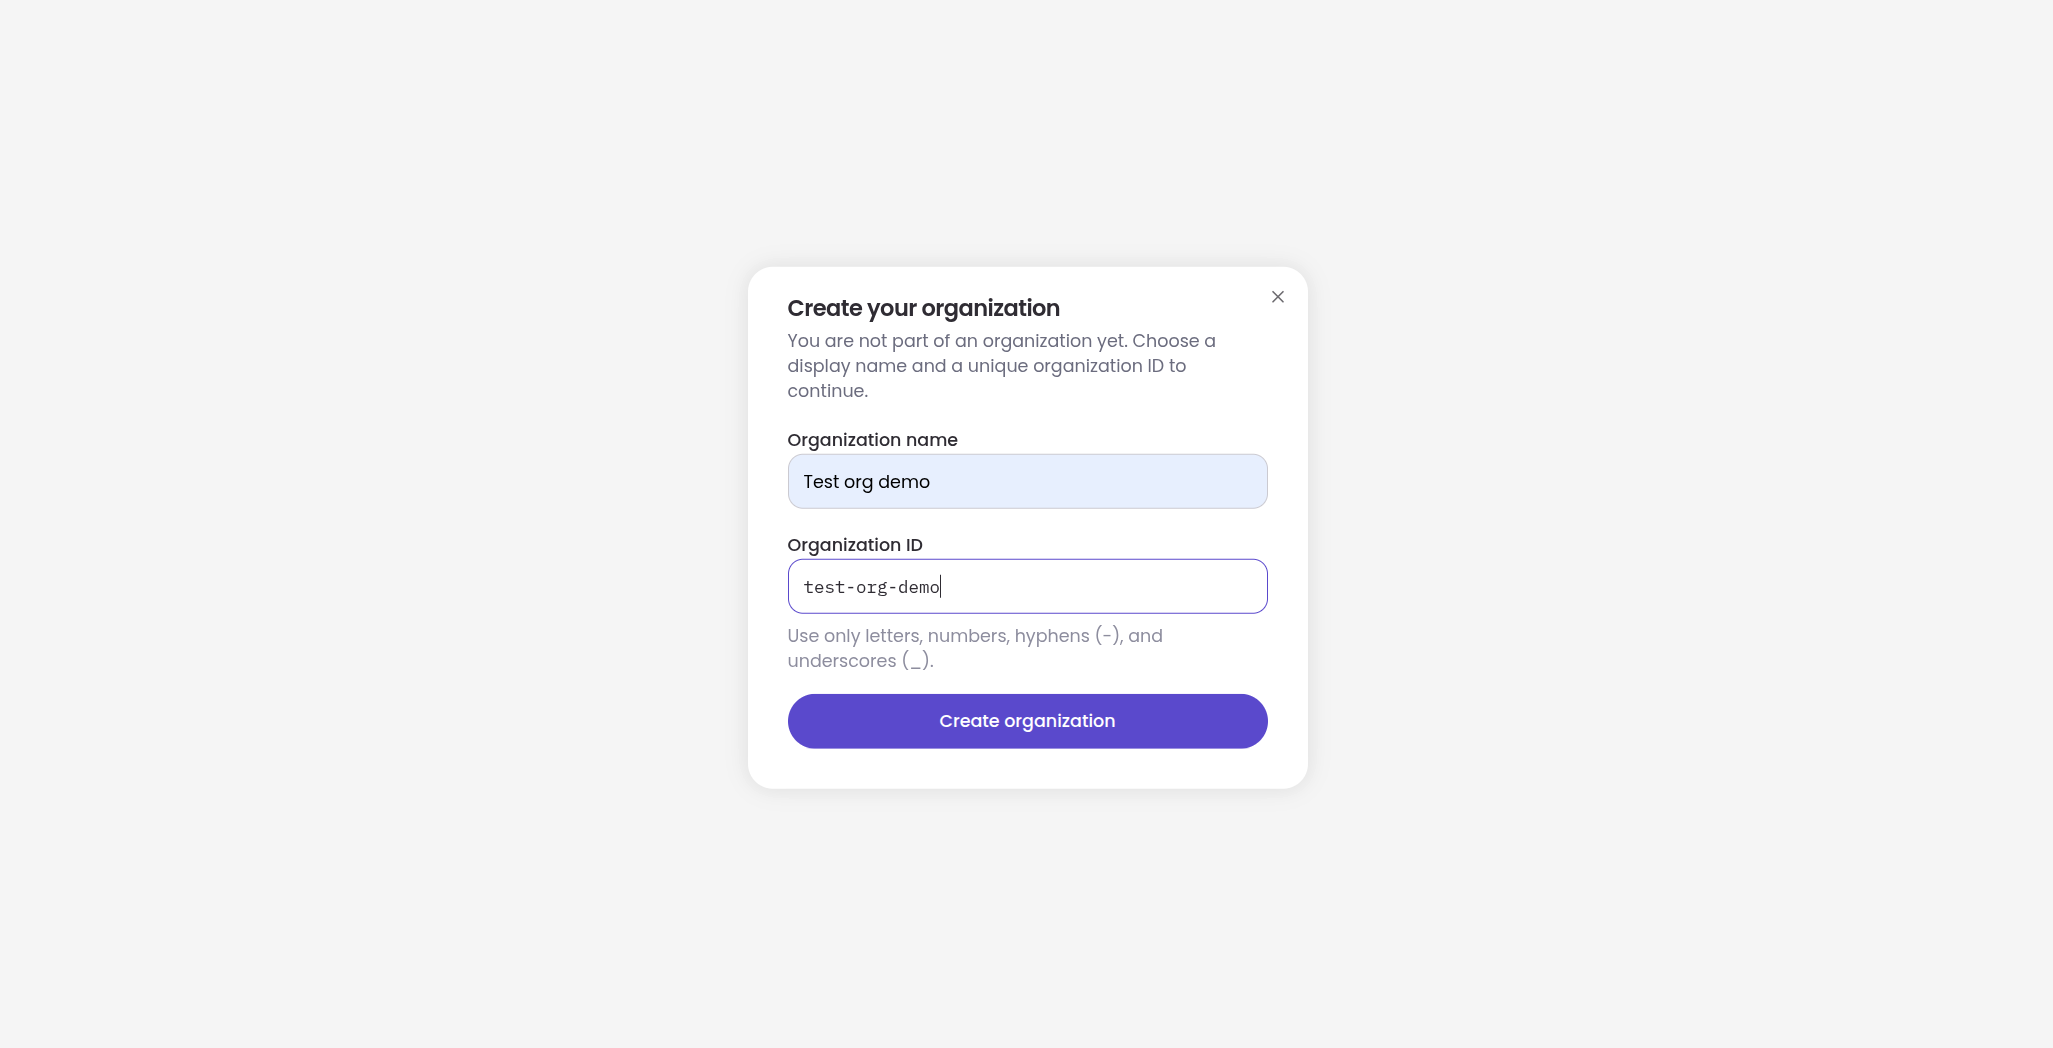
Section titled “Create your organization”The first time you sign in, you are not part of any organization yet, so Nebulas asks you to create one.
-
Organization name. The display name your members see, such as your company name. You can change it later.
-
Organization ID. A unique identifier for the organization. Use only letters, numbers, hyphens (
-) and underscores (_), for exampleacme-corp. It appears next to the name in Admin. -
Click Create organization.
You land in your personal workspace, My Workspace, and you are the owner of the new organization.
Set up the organization
Section titled “Set up the organization”Open Admin from your account menu. The Organization page shows the name, ID and logo of the organization, its active users and seats, and four tabs:
| Tab | What you do there |
|---|---|
| Users | See who is in the organization and change their role. |
| Teams | Group members into teams. Assistants and knowledge bases can be shared with a whole team. |
| Invitations | Invite people by email and follow pending invitations. |
| Service Accounts | Create technical accounts for your servers, for example to embed an assistant on your website. See Service accounts. |
The left menu also gives access to Settings, Usage, Billing and Versions.
A good order for a new organization:
-
Add your logo next to the organization name, so members recognize it.
-
Invite your colleagues from the Invitations tab.
-
Create teams that match how your company works (sales, support, finance…). Sharing with a team is easier than sharing with each person.
-
Create a shared workspace for each team or project, and share it. See Using Nebulas Workspace.
-
Build your first assistant in Studio and add it to the workspace.